Blending with acrylics can be tricky, especially those soft buttery-smooth transitions from one color to another. There are several reasons acrylics can be hard to blend. In this lesson, I'll teach you how to overcome each blending obstacle and share with you several blending secrets. It isn't necessary to use every technique to blend. Try some of the different ways and use what works best for you.
Problem #1 - My Acrylics Dry Fast
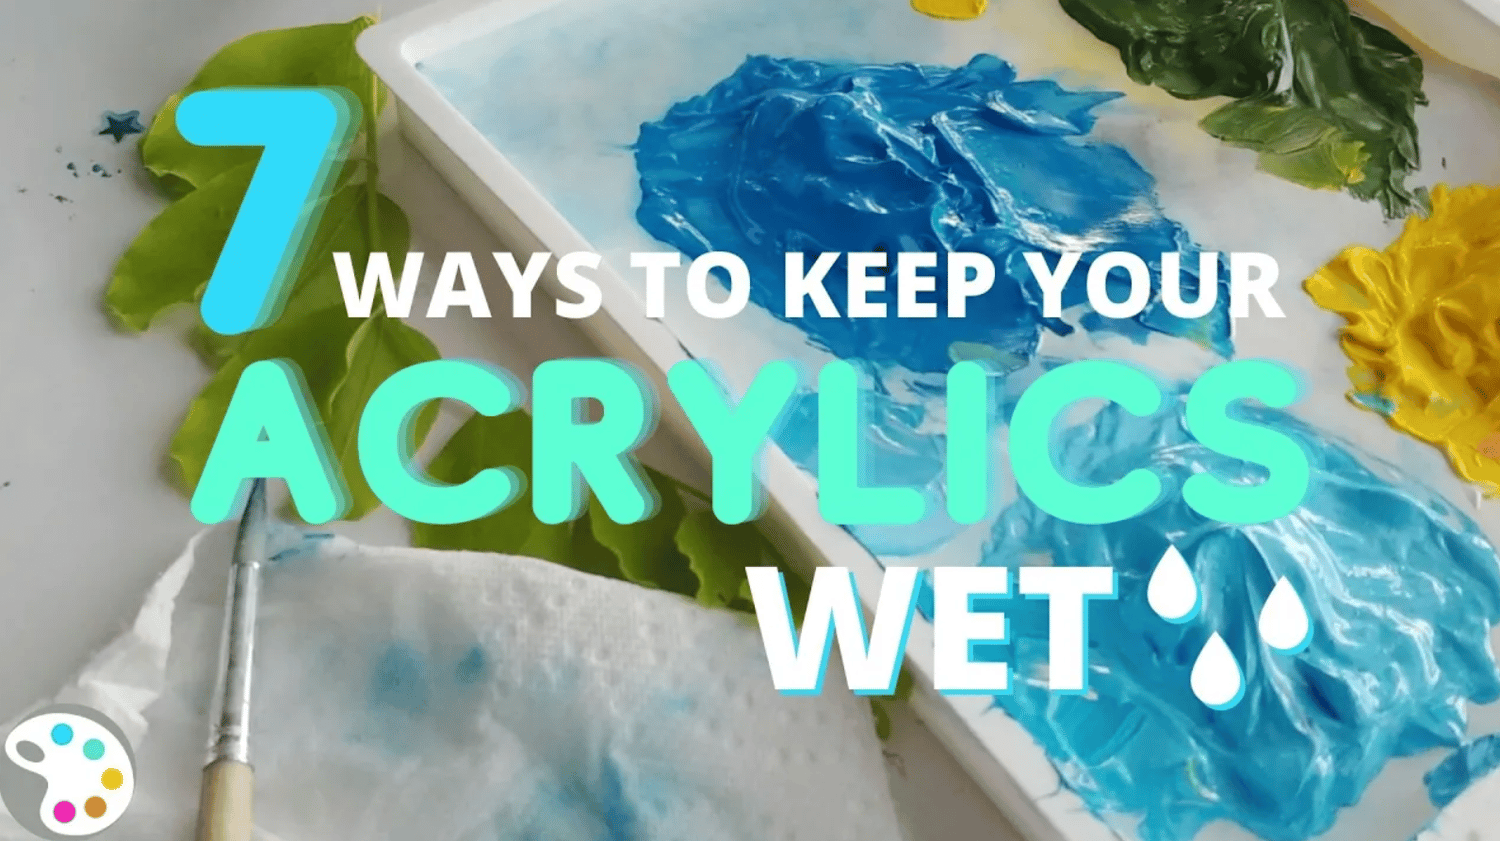
Acrylic paints naturally dry fast, and drying fast means less time to blend. Acrylics will go into a sticky stage quickly, and once the paint becomes tacky, blending is impossible. Just because acrylic paints tend to dry fast doesn't mean that there aren't solutions. Here are some of my top tips for slowing the drying time of your acrylic paints.
Solution 1: Make your acrylic's "open time," or "blending time," longer. There are several ways you can do this. Watch the video below to get started.
The Sta-wet Palette: This palette keeps your paints wet without having to use sprays. Paints are already beginning to dry before you even get them on your canvas. Which means less blending time. But on the Sta-wet, your paints are wet from the beginning increasing their "open time" giving you more time to blend on the canvas.
Tip: If you don't have a Sta-wet palette and want to see how it works, use a plastic container with a lid instead. In a square or rectangular container, add wet paper towels on the bottom (not dripping wet). Then add wet copy paper cut to the size of the container on top of the towels. Add your paints on top of the paper. It is not as great as buying the Sta-wet palette, but it is similar enough to see how it works. Then, just add the lid when you store it and your paints stay wet for a couple of days (paints can stay wet for weeks in the Sta-wet Palette).
Solution 2 - Add mediums that keep acrylics from drying too fast. Acrylic paints have several mediums that can be added to the paint that slow down drying time. Adding slow-dri medium is a great option, as it reduces the drying time by up to 40%.
Problem #2 - My Brushes Leave Marks
A soft blend is almost impossible when you have brushes leaving brush marks. Don't worry, with a little practice and the right tools, a smooth blend free of brush strokes is possible. Here are my top solutions to help get rid of brush marks in your paintings.
Solution 1 - Ge a soft synthetic brush that is flat on the top (these are my recommended brushes). A good blending brush is soft to the touch, but when you bend the bristles back and then let go, it springs back into position. Depending on the size of your work is how large a brush you want to work with.
Solution 2 - Lower the viscosity of your paint. Viscosity for acrylics is the measure of the paint's thickness or, resistance to flow. If your acrylic paint is thick it will retain brush marks and make blending more of a challenge. You can lower the viscosity with water or a fluid medium. I prefer using the slow-dri medium as it will increase the flow of your paints as well as slow down drying time.
Solution 3 - Apply soft pressure. If you very softly touch your brush to your paint to move it around, you will leave fewer brush marks. So, if you need to use thicker paint and want to blend, all you need to do is blend the very surface.
Problem # 3 - My paint is already dry, how do I blend now?
Solution: You can glaze over already dry paint to soften the transition between colors or soften lines. I give an entire lesson on glazing for my Createful Art Members because it is such an important technique to learn and master. I glaze by adding water or glazing medium to white or the color I need to soften the transition to. The watered-down version lets me control how much color I put down over the top to ease the transition. The more paint or pigment (color), the more coverage. I can decrease or increase the coverage as needed to soften and transition from one color to another.
Problem #4 - I see streaks and lines
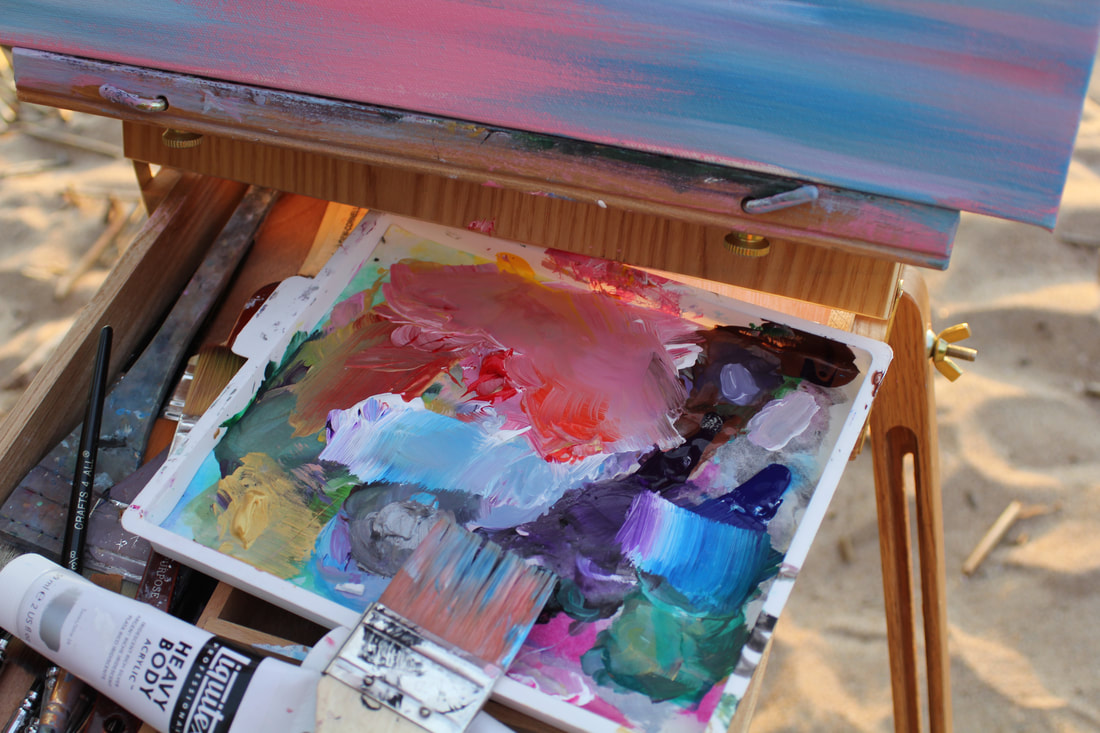
Paint over an area more. Blending takes time and the more you work over an area, the more it blends. You will often see me go over an area several times just to get it to blend. I also work side-to-side for skies and in circles for round objects. The more I work side-to-side or around and around, the more the colors are mixing, which is what creates soft blends.
That being said, new artists can easily over-blend an area making a muddy mess. Don't overdo it. Once it looks good, leave it alone. Just remember, blending needs more working over but everything else needs less.
I have several tutorials that you can practice blending with me. I will let you know how to find the tutorials you want to try soon. You're almost ready to start painting and practicing with me. You made great progress today! Here's another high-five!

Disclosure of Material Connection: Some of the links above are “affiliate links.” This means if you click on the link and purchase the item, you may receive an affiliate commission. Regardless, I only recommend products or services I use personally and believe will add value to my readers. I am disclosing this in accordance with the Federal Trade Commission’s 16 CFR, Part 255: “Guides Concerning the Use of Endorsements and Testimonials in Advertising.